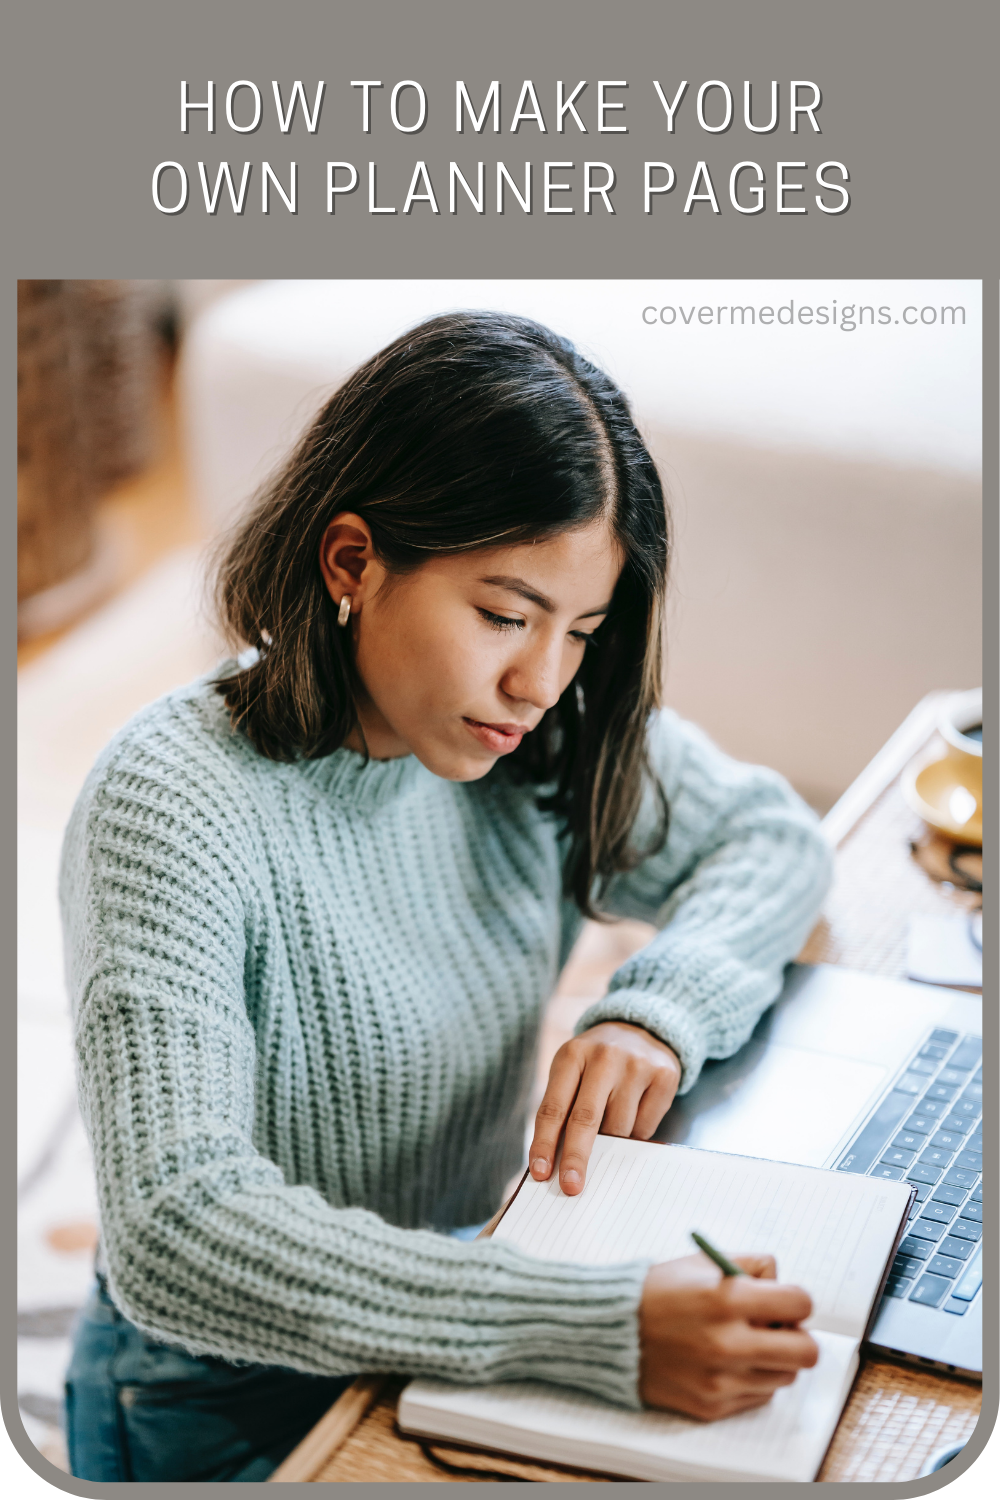

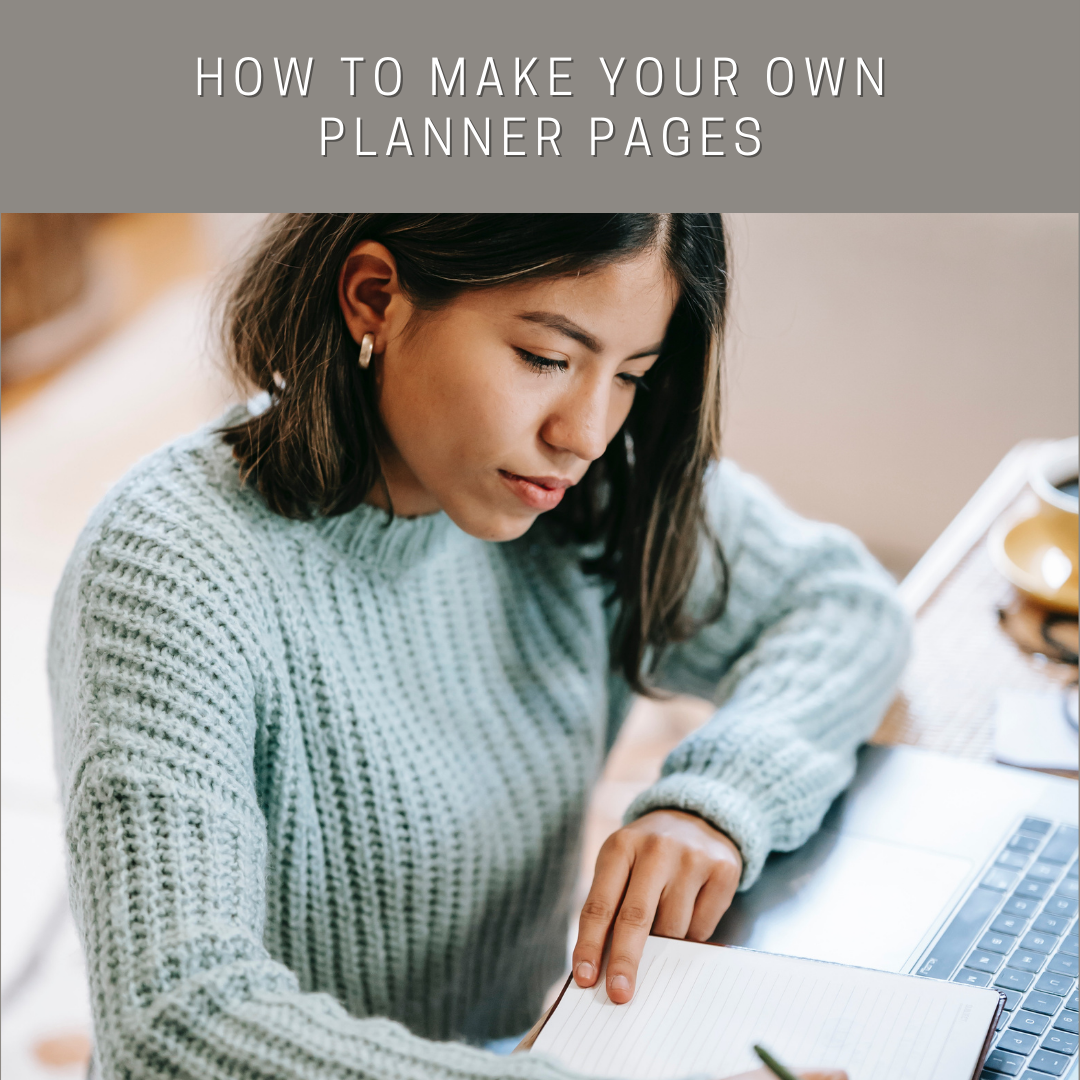
Planners are a great tool for keeping your life organized and on track. But sometimes, store-bought planners don't fit all of our needs or preferences. That's where making your own planner pages with a template comes in handy. Making your own planner page from scratch can be difficult unless you’re a professional designer. Starting off with a template is the easiest option to customize your planner. In this blog post, we'll walk through the steps of creating your own planner page using a template.
Step 1: Choose a template
The first step is to choose a template that suits your needs. We offer many planner page templates that you can customize online without having to download any additional software. You can choose from daily, weekly, monthly, or yearly layouts. The hardest part is picking your favorite style.
Step 2: Customize your template
Once you've chosen your template, it's time to customize it to fit your needs. You can do this by changing the font, colors, dates, and the section titles. For example, if you're using a daily planner template, you might want to add a section for your daily meal planning. If you're using a weekly planner template you might want to add a section for your weekly goals or habits. With our planner page templates, you’re able to change any of the text!
Step 3: Print or use digitally
After you've customized your template, it's time to print it out or use it digitally. If you're printing your planner pages, make sure to use high-quality paper that will hold up to daily use. You should also consider what kind of pens or markers you’d like to use with your planner. Fountain pens and permanent markers can bleed through the page, so it’d doubly important to use a thicker paper. However, if you’re only using ballpoint pens, pretty much any quality of paper will be usable.
If you're using a digital planner, make sure your app is able to import the planner page template. You can download our templates as a PDF, JPG, or PNG which popular apps like Goodnotes and OneNotes are able to use.
Step 4: Use your planner page
Now that you have your customized planner page, it's time to use it! Make sure to schedule in all of your important events, deadlines, and tasks. You can also use your planner page to track your habits, set goals, and jot down notes.
In conclusion, making your own planner page with a template is a great way to customize your planner to fit your needs and preferences. Starting with a template will cut the time and expertise needed to begin customizing your planner in the way you need. With just a few simple steps, you can create a planner page that will help you stay on track and organized. Whether you choose to print your planner pages or use them digitally, make sure to use them daily to achieve your goals and stay productive.